New Construction ★ Fort Sill Area
The Final Walkthrough Checklist for Your New Elgin Home
By Travis Wright, REALTOR®, with eXp Realty
The final walkthrough is the last time you will see your new Elgin home before you own it, and it is your one chance to make sure the house you are about to close on matches the house you contracted for. It is not a second home inspection, it is a verification visit: you walk the home, confirm your selections and finishes, test the systems, and write down every unfinished or damaged item so the builder completes it. In Elgin, builders typically schedule it a week or two before closing once the home is substantially complete. Here is the checklist I give every buyer, room by room, before they sign.
★ When does the final walkthrough happen, and how long does it take?
In Elgin, the final walkthrough usually happens about one to two weeks before closing, once the builder considers the home substantially complete, which on a new build means everything is finished except the punch-list items and the final clean. Some builders prefer to hold it closer to closing so the condition you see is the condition you get. Ask for the date in writing when you schedule it, and pick a daytime slot so you can actually see the finishes and test the systems.
Block out two to three hours, not the half hour most buyers think it takes. This is the wrong meeting to rush: once you close, cosmetic issues like a scratched counter or a chipped tile stop being the builder's problem, so the walkthrough is where they belong, not after.
The Buying Process guide walks through where the walkthrough sits in the overall timeline, and the construction timeline article shows the 6 to 12 month build schedule leading up to it.
★ What is the final walkthrough actually for?
Think of the final walkthrough as a verification visit, not a home inspection. Your earlier third-party inspection looked at how the house was built. The walkthrough checks that the house was built the way you asked: the floor plan you signed for, the finishes you selected, the upgrades you paid for, and nothing visibly damaged or unfinished.
Bring the contract, the plans, your change orders and upgrade selections, and the punch list from your earlier inspections. Blue painter's tape, a flashlight, and your phone for photos. Mark anything you flag with a piece of blue tape on the spot, because taped marks become the builder's working punch list.
If you have not scheduled a third-party inspection, the warranties and inspections article explains why that is a separate step you want before the walkthrough, not instead of it.
★ A room-by-room walkthrough checklist
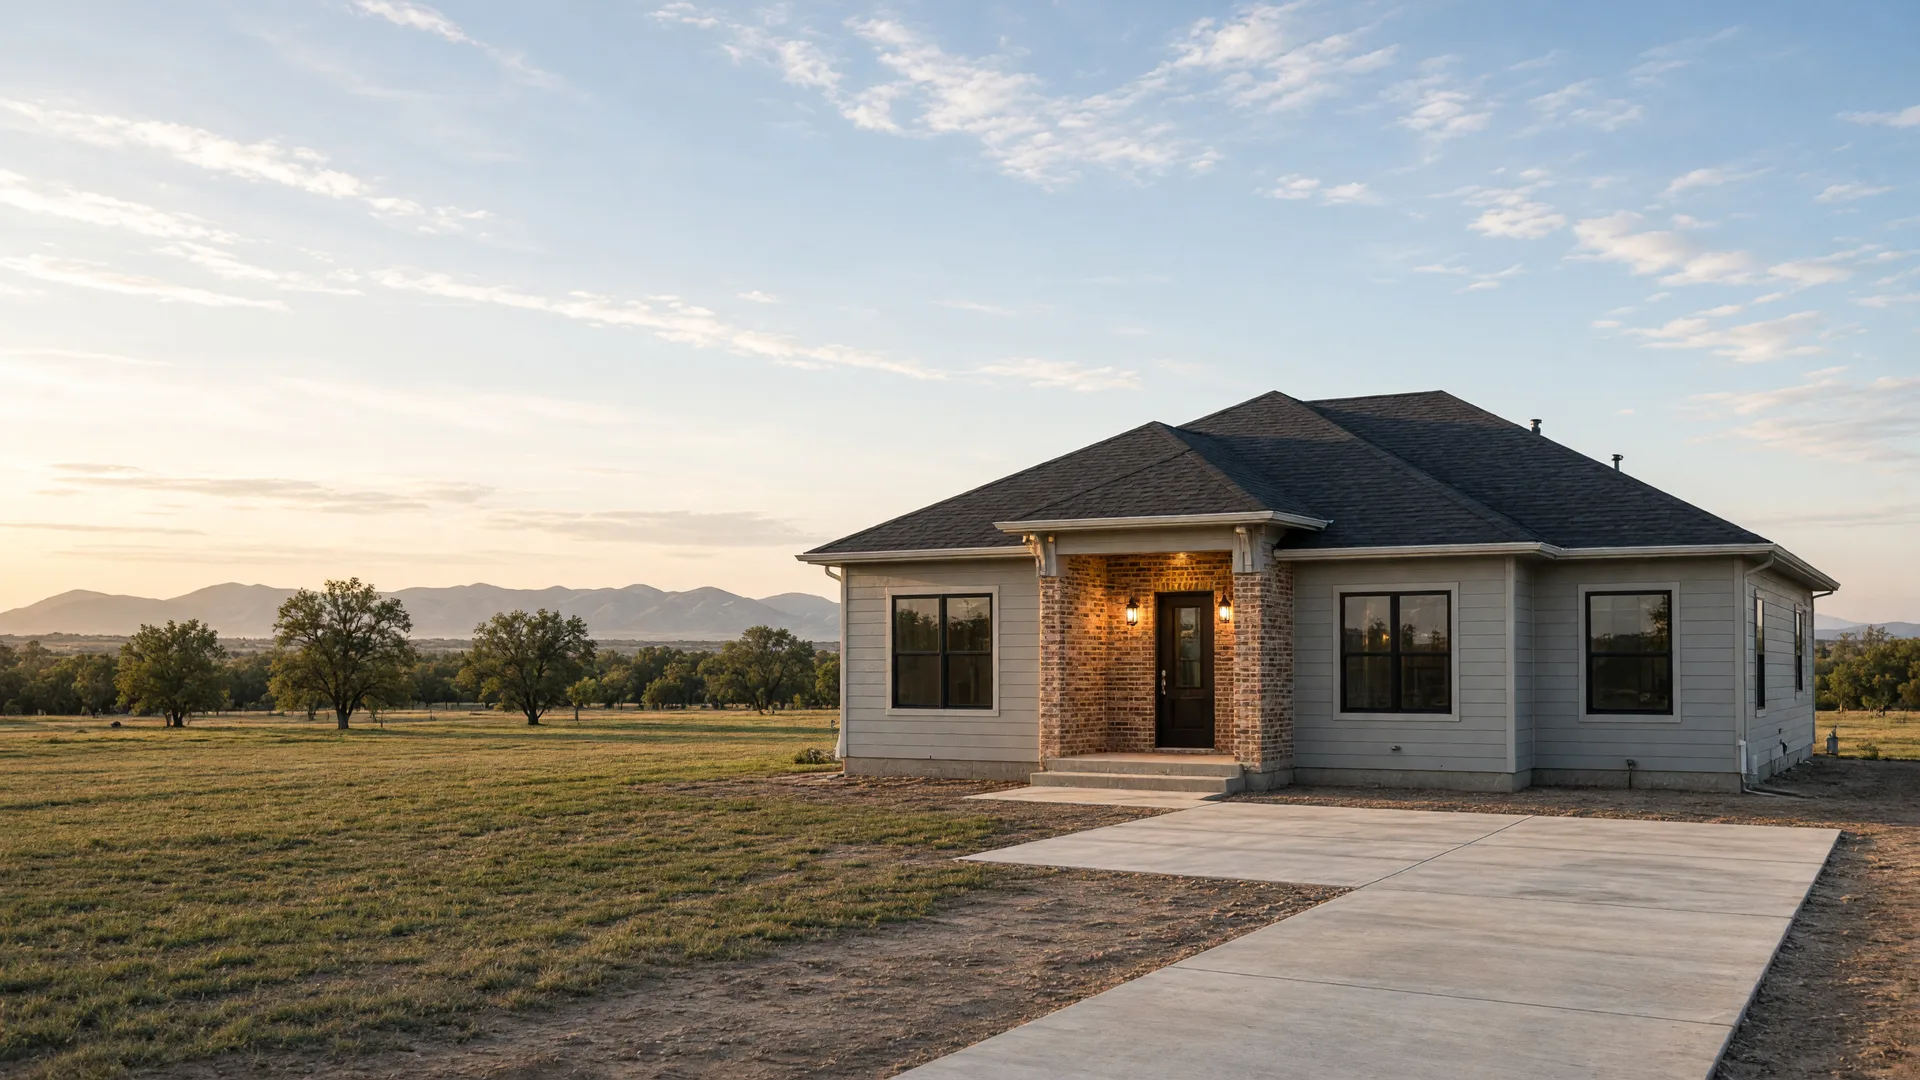
- Exterior and lot: siding, brick, and trim with no gaps or damage; roof and gutters you can see from the ground; grading and drainage sloped away from the foundation; driveway and walkways poured and clean; garage door opens, closes, and reverses on contact.
- Windows and doors: every window opens, closes, and locks; screens and seals intact; every exterior door latches and seals; sliding doors roll smoothly.
- Walls, floors, and ceilings: no cracks, nail pops, or paint touch-ups still pending; flooring laid tight with no gaps, scratches, or hollow spots; baseboards and trim finished. Stand four to six feet back and flag anything that catches your eye from that distance.
- Kitchen: cabinets and drawers open and close level; countertops and backsplash free of chips, scratches, and seams that do not line up; every appliance present and working; faucet and disposal run; dishwasher seals.
- Bathrooms: every toilet flushes and runs clean; sinks and showers drain; tub and shower surrounds grouted and caulked; fixtures tight and free of drips; exhaust fans run and vent.
- Electrical and plumbing: every light switch and outlet works (test them, do not just look); GFCI outlets trip and reset; water heater is on and hot water reaches every tap; shutoff valves you can find.
- Systems and comfort: the HVAC runs, heats and cools, and returns air properly; the thermostat works; no water stains or musty smells anywhere in the house.
★ The systems most buyers forget to test
It is easy to fall in love with the kitchen and forget the mechanical room, but the systems are what a new home warranty is for, and the walkthrough is the moment to catch what does not work before you own it. Test every light switch and outlet rather than assuming they work. Trip every GFCI. Run every faucet and flush every toilet. Turn on the HVAC and let it actually run, in heat and in cool if the season allows.
Open, close, and lock every window and door. Operate the garage door and confirm the safety reverse. Run the dishwasher, the disposal, and the stove. If an appliance is not yet installed or powered when you walk, put it on the punch list in writing rather than trusting it will be handled later.
The upgrades article covers which systems are worth paying the builder for in the first place, so you know what you should be testing.
★ Blue tape, the punch list, and getting fixes in writing
Here is where buyers either lock things down or let them slide. Walk the house with blue tape in hand, mark every issue on the spot, and then get the list written down with the builder before you leave: what will be fixed before closing, what will be fixed after, and the dates. A punch list you can both hold onto is the difference between a clean move-in and a six-month back-and-forth.
Most builders will fix scratched counters, chipped tile, misaligned cabinet doors, paint touch-ups, missing hardware, dead outlets, plumbing leaks, and HVAC issues. Cosmetic imperfections within normal construction tolerance usually will not be fixed, which is why you confirm the tolerance standards in the contract rather than assume them.
The questions to ask your builder checklist has the wording to get warranty and punch-list expectations in writing before you ever sign.
★ Should I bring my own inspector to the final walkthrough?
Yes, and I recommend it for every buyer, not just first-timers. The walkthrough is not a substitute for a third-party inspection, and the VA appraisal is not an inspection either. Your inspector checks the bones of the house, the systems, and the workmanship before closing, and then walks with you so you know what you are looking at during the final walkthrough.
Your own Realtor should be at the walkthrough with you. I walk every Elgin closing with my buyers and keep my own copy of the punch list, because after closing day your Realtor is the one chasing the builder on your behalf if something agreed at the walkthrough does not get done.
The About page explains how I work with new-construction buyers through the paperwork and the walkthrough. The common buying mistakes article covers the exact error of skipping the inspection, and the article on using your own Realtor explains how representation works on a new build.
★ What does the VA final inspection mean on a new build?
If you are buying with a VA loan, the walkthrough is not the only final check happening. On new construction, VA requires a final inspection once the home is 100 percent complete, done by the appraiser who reviewed the original plans and specs, certifying that the home meets VA's Minimum Property Requirements and was built to those approved plans. VA does not issue the loan guaranty until that final inspection is clear.
That final inspection is separate from the builder's certificate of occupancy and from your own walkthrough, and all three should line up before closing. Confirm with your lender and your agent that the VA final inspection is clear and the certificate of occupancy is in hand, because closing cannot happen until they are.
The VA Loan and BAH guide covers how VA loans work on new construction step by step, and the official VA Home Loan Buyer's Guide is the primary source for the rules.
★ What happens to the punch list after closing?
Once you close, unfinished punch-list items belong to the builder's warranty, so the list itself matters more after closing than before. Date the signed punch list, keep a copy, and get the agreed completion dates in writing. If the contract allows, hold final payment until the items are done; if not, you are relying on the signed list and the warranty.
Put the first-year date on your calendar too. Most builder warranties cover workmanship and materials for the first year, so set a reminder to re-walk the house near the eleven-month mark and report anything that has settled, cracked, or stopped working before the one-year coverage lapses.
The warranties and inspections article explains the full warranty timeline, including the eleven-month check.
★ How the walkthrough fits your Fort Sill timeline
For a military family, the walkthrough date is not an isolated appointment, it is the last milestone before a moving truck and a report date. If your report date is fixed, the walkthrough and closing anchor the whole schedule, so build the buffer in: ask for the walkthrough in writing, keep a couple of weeks between it and your PCS departure, and have utilities and address changes queued for closing day.
And if you are closing during a PCS, remember the small stuff is part of the same checklist: utilities transferred, the punch list copy in your file, and the address changes submitted, because none of it happens by itself.
If you are shopping move-in-ready rather than waiting out a build, you can also browse Travis's current Elgin new construction to see what is actually on the market this week. The PCS and new construction timeline article plans the whole calendar backward from your report date, and the move-in-ready article covers the timing difference when the home is already built.
★ The walkthrough checklist, summarized before you go
- Schedule the walkthrough in writing, in daylight, one to two weeks before closing.
- Bring the contract, the plans, change orders, earlier punch lists, blue tape, a flashlight, and your phone.
- Walk the exterior and the lot first, then go inside room by room, testing everything as you go.
- Run the systems: every switch, outlet, faucet, toilet, appliance, door, window, and the HVAC.
- Mark every issue with blue tape and get the signed punch list with completion dates in writing.
- Confirm the VA final inspection and the certificate of occupancy are clear before closing.
- Keep the signed list, calendar the eleven-month warranty check, and re-inspect before the first year lapses.
Questions about this topic?
Talk it through with a local REALTOR®.
By Travis Wright, REALTOR®, with eXp Realty
Travis Wright is a Southwest Oklahoma native, a Fort Sill relocation specialist, and a new-construction agent with eXp Realty. A 30-minute consultation is free, and there is no pressure to decide anything on the call.